If you are like many other women, you probably love gel manicures. They leave you with beautiful, glossy nails that last for as long as two weeks, and sometimes longer. If you don’t have a set schedule for returning for your next manicure, you may want to remove the polish if you notice that there is a tiny chip or another imperfection. The problem is that it isn’t as easy to remove as normal everyday nail polish.
Gel polish uses strong ingredients, which makes it last longer, but also makes it harder to remove. It can weaken your nails if you leave it on too long. If you don’t have time to go to the nail salon, you definitely should avoid picking at it to remove it. This can damage your nail bed and it will take time to recover. You can follow these steps to remove your gel nail polish at home.
*We earn a commission for products purchased through affiliate links on our site.
Gather What You Need
Before you start, you need to make sure that you have all of the supplies that you need out and ready for use. Be sure that you have the following:
- Nail file
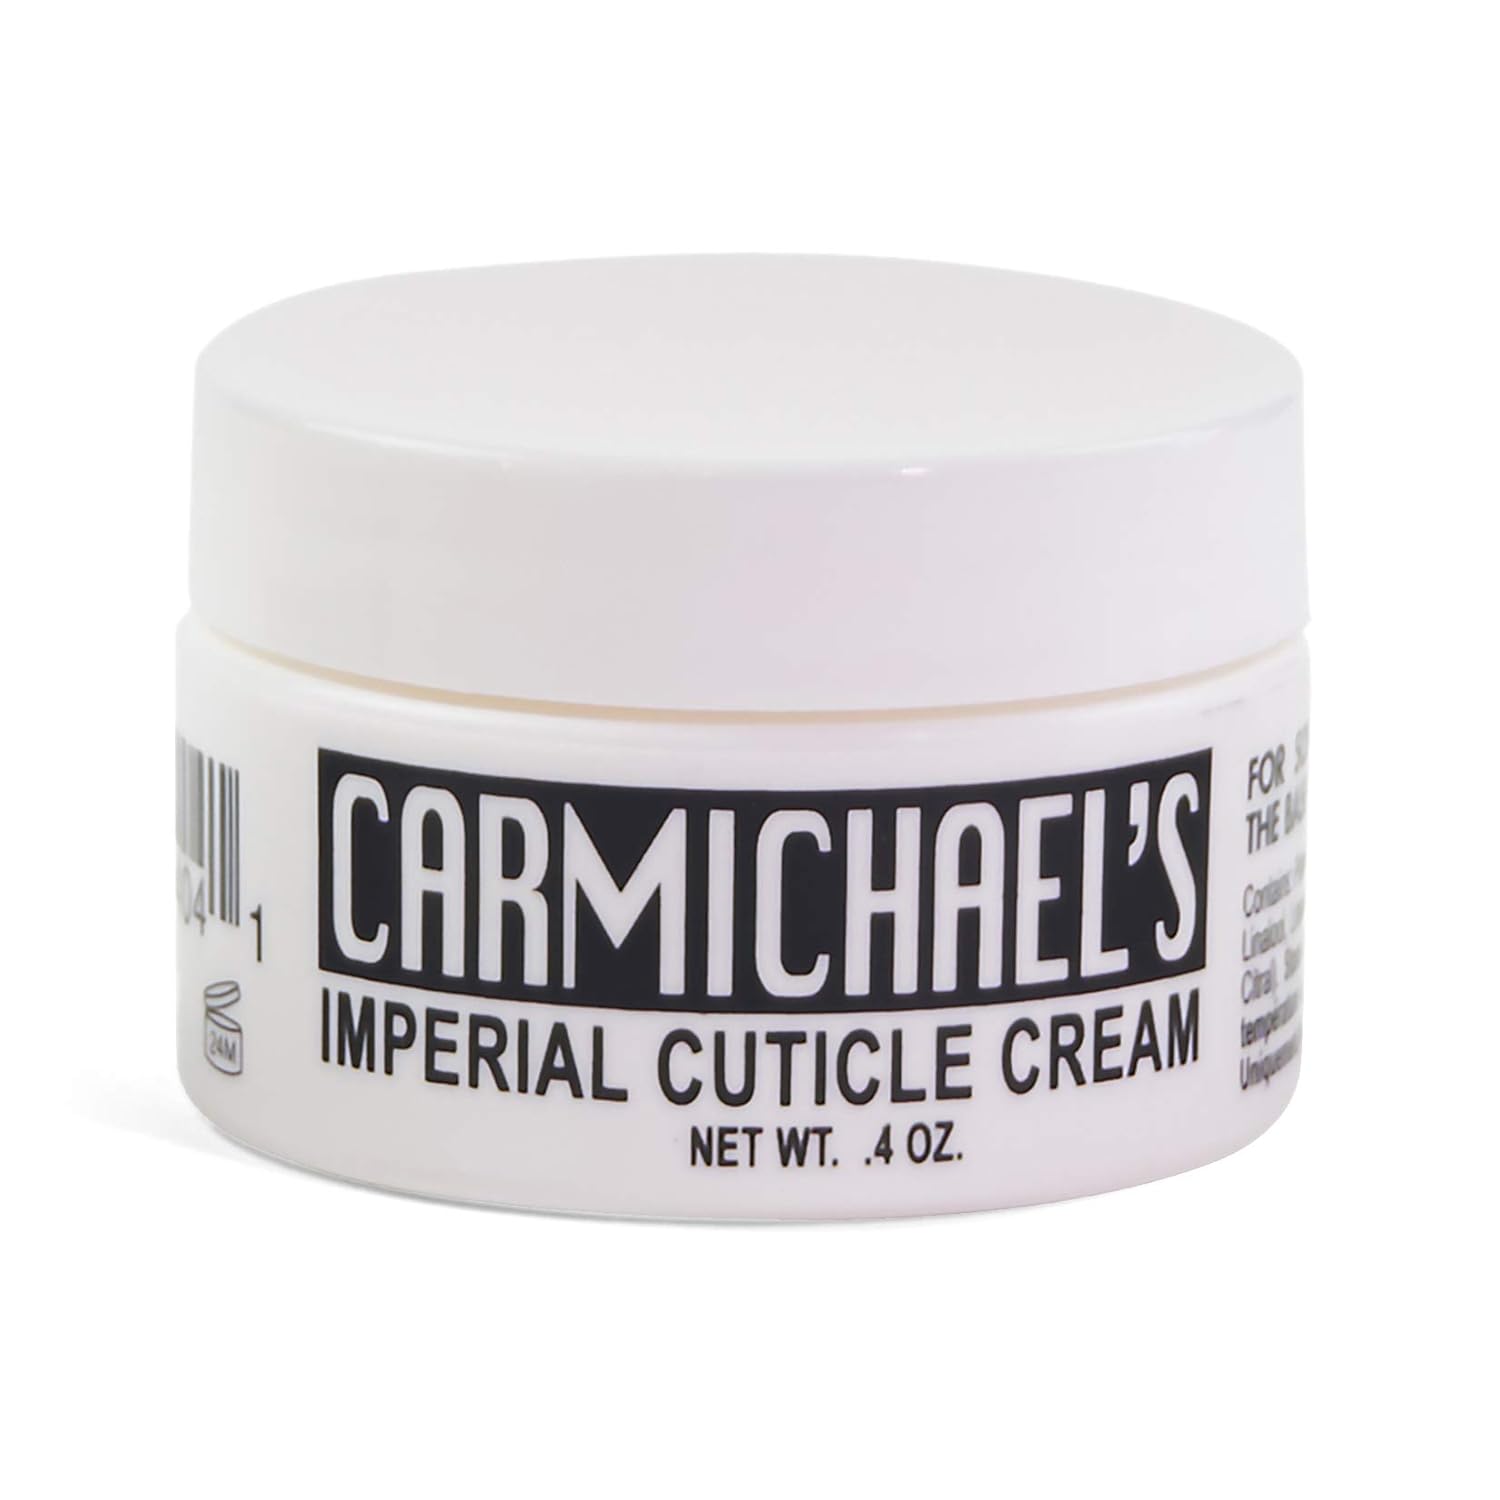
- Cuticle cream
- Cotton balls
- Small bowl
- Acetone nail polish remover
- Aluminum foil
- Wooden nail sticks
- Hydrating oil
Once you gather your supplies, set them up in a room that is well ventilated. If you can sit by an open window or a fan, that will prevent you from breathing in the acetone. This process will take around 30 minutes so you should be sure to have something to do, such as listen to a podcast, watch a video, or some other activity to pass the time. Once you are all set up, you can get started removing your gel nail polish.
Removing Your Nail Polish
Step 1: Gently File Your Nails
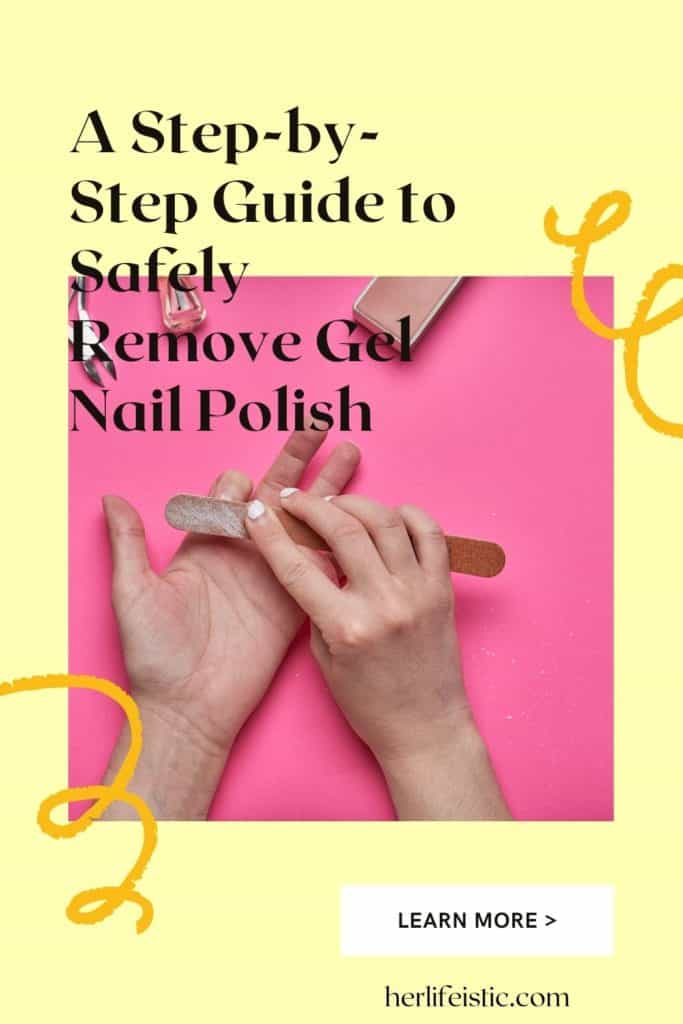
The first step to safely removing your gel nail polish is to file your nails. You want to file across the top of the gel polish to eliminate the glossy surface so that the acetone will be able to soak in later in the process. When you file your nails, you can gently sand the surface of each nail until the shine is gone.

Step 2: Use Cuticle Cream on Your Cuticles and Skin
The next step is to protect your cuticles and the skin around your fingers with cuticle cream. This is important because the acetone that you will use to remove the gel nail polish can dry your skin and cuticles out. Before you move on, coat your skin and cuticles in the cuticle cream. Use a generous amount to make sure that they are protected.
Step 3: Soak Cotton Balls in Acetone
Next, you should pour some acetone nail polish remover into the small bowl. Take ten large cotton balls and place them in the acetone until they are completely soaked. You want to make sure that they are soaked because you are going to use them to remove the gel nail polish.
Step 4: Prepare the Aluminum Foil
While you are soaking the cotton balls, you can tear off ten three-inch squares of aluminum foil. This size is just right for wrapping each of your ten fingers. This is how you will make your wraps to soak your nails.
Step 5: Wrap Your Nails
Now you can take a cotton ball and wrap it on your finger. Repeat this for all ten fingers and make sure that each cotton ball is soaked under the aluminum foil. This can be a challenging process, but take your time and go one finger at a time. Once you have all of your fingers wrapped, you can relax for about 15 minutes while you let the acetone work under the foil.
Step 6: Check on Your Nails After 15 Minutes
After 15 minutes, pull back the aluminum foil on one of your fingers to see how it is going. If the gel nail polish is loose and coming off your nails, you will be able to move to the next step. Otherwise, you will want to wrap your finger back up and wait another five or ten minutes.
Step 7: Remove the Gel Polish
Next, you will remove the aluminum foil from your fingers. You can go one finger at a time or you can remove all of the aluminum foil first. Once you remove the aluminum foil, the gel nail polish will come off your nails with the cotton ball. Then, you can use the wooden nail stick to go over your nail and remove any remaining polish. Go through all of your nails to remove the polish.
Step 8: Wash Your Hands
Once you have removed all of the gel nail polish, you can wash your hands with soap and warm water. This will remove any acetone and remaining gel polish from your nails, and it will clean your hands.
Step 9: Apply Cuticle Cream
Once your hands are dry, you should take the cuticle cream and apply it over your nail beds. This will help to hydrate your nail beds. If you plan to apply polish again right away, you will want to skip this step; however, it is a good idea to let your nails recover for a day or two before you apply polish again.
Final Thoughts
You can safely remove gel nail polish at home, but you need to be patient and complete each step of the process. Make sure that you have everything you need before you get started. Then, you can follow the steps above and remove the polish while ensuring that you protect your nail beds.

Nail file
FANDAMEI

Cuticle cream
Caswell-Massey

Cotton balls
FANDAMEI

Small bowl
Rolabling

Acetone nail polish remover
Pronto

Aluminum foil
Reynolds

Wooden nail sticks
Rolabling

Hydrating oil
RejuveNaturals


Comments are closed.